Iorad Tutorial
20 STEPS
1. The first step is to open PowerTeacher Pro and click Reports

2. Click Student Roster

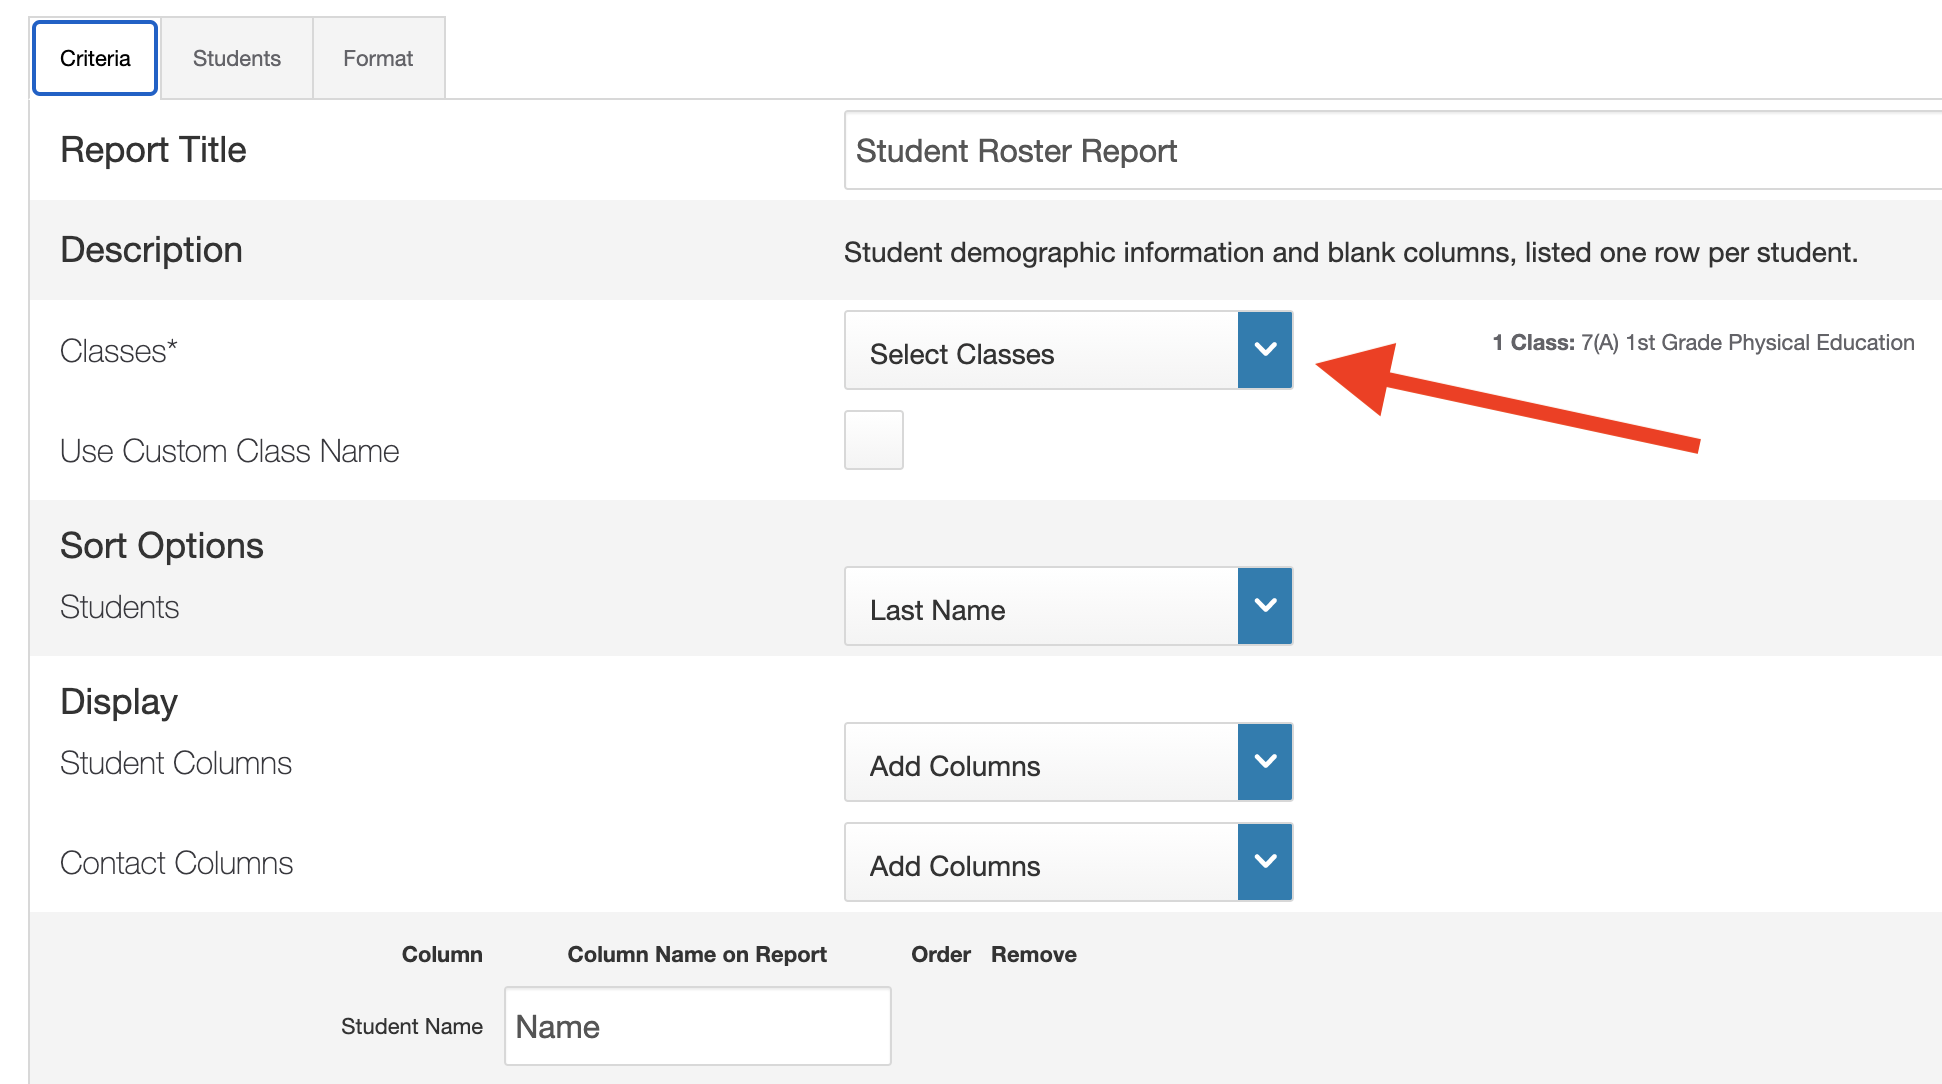
3. With your mouse, select text in the Report Title and change the title to what you want

4. Click the Select Classes Dropdown Menu

5. Click to select the classes you want to print a roster for

6. Click the Add Columns Dropdown Menu

7. Click Add for more blank columns or any other information you want

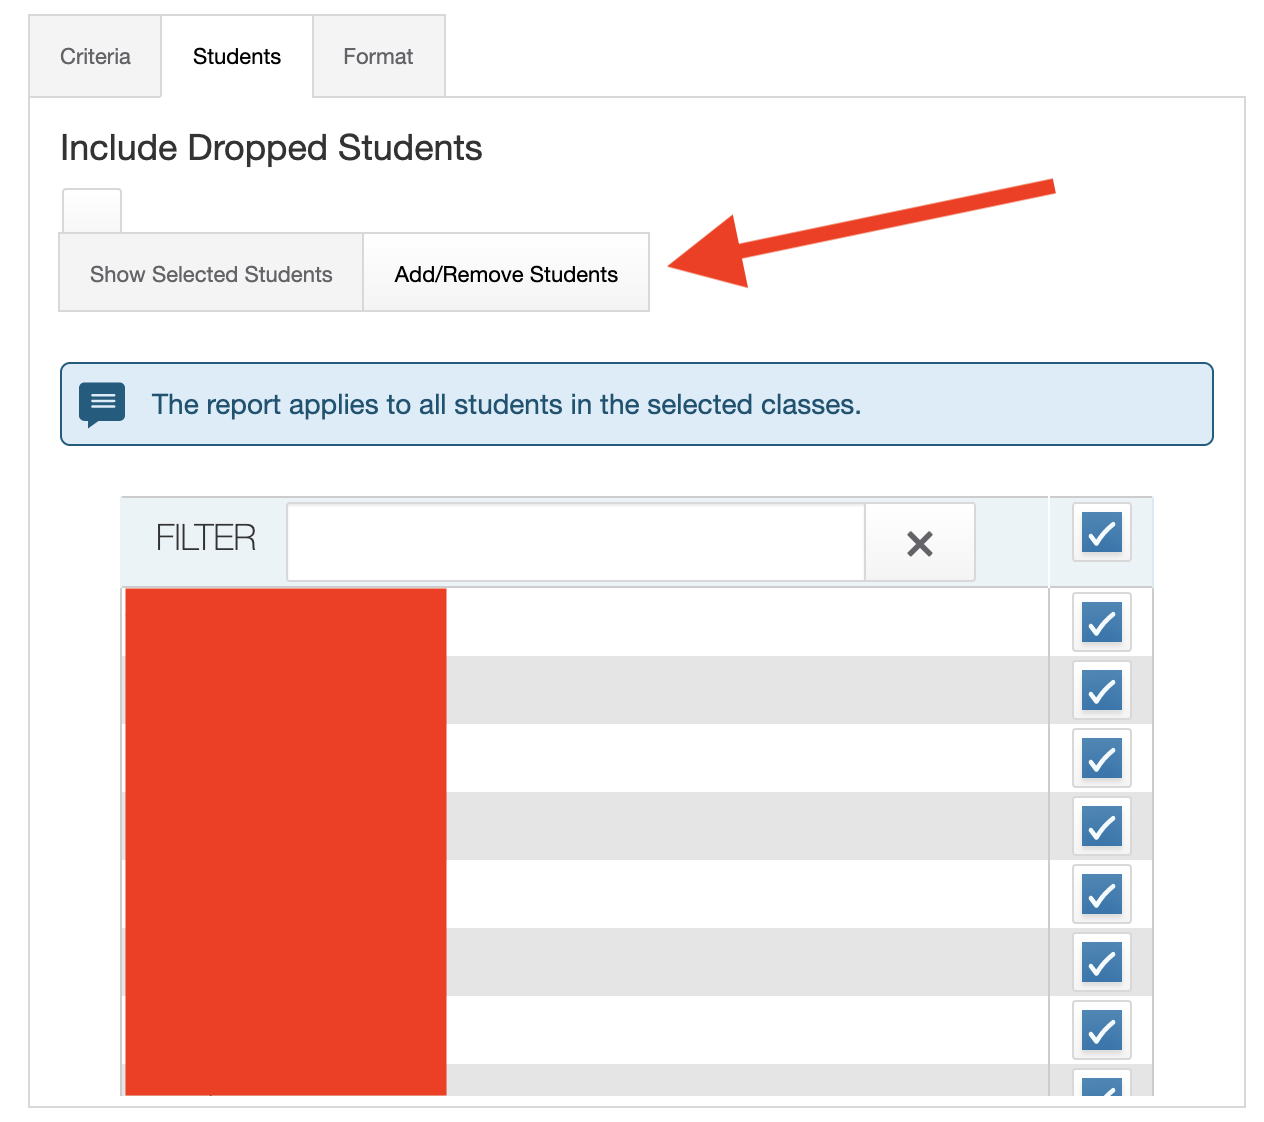
8. (Optional) Click the Students Tab

9. (Optional) Scroll up and click Add/Remove Students

10. (Optional) Uncheck any students to remove from the report

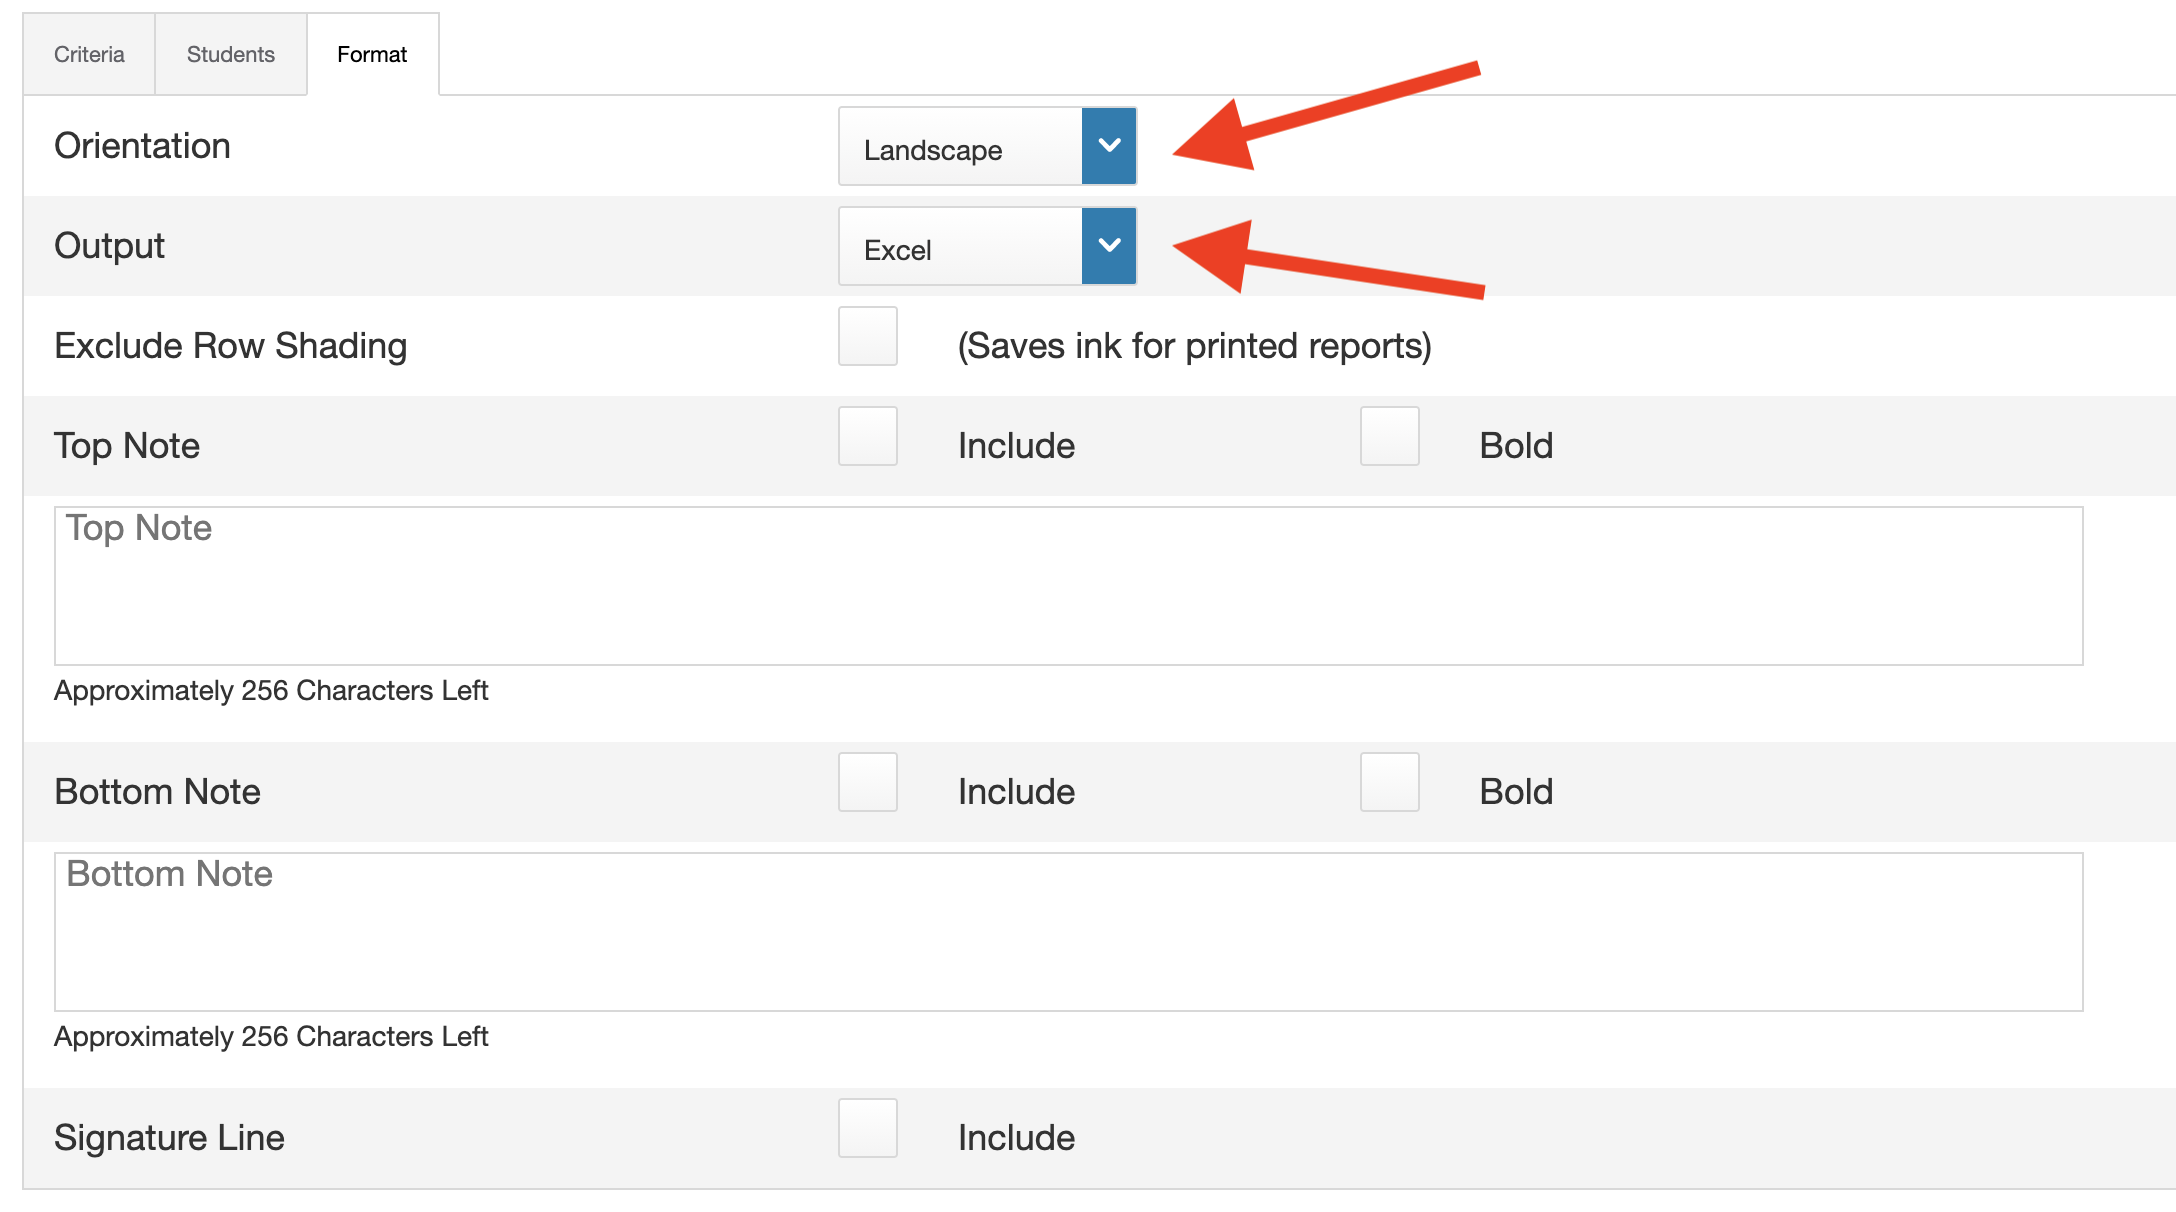
11. Click the Format Tab

12. Click the Orientation Dropdown Menu

13. (Optional) Click Portrait to change the orientation

14. Click the Output Dropdown Menu

15. (Optional) Click Excel to change the document output

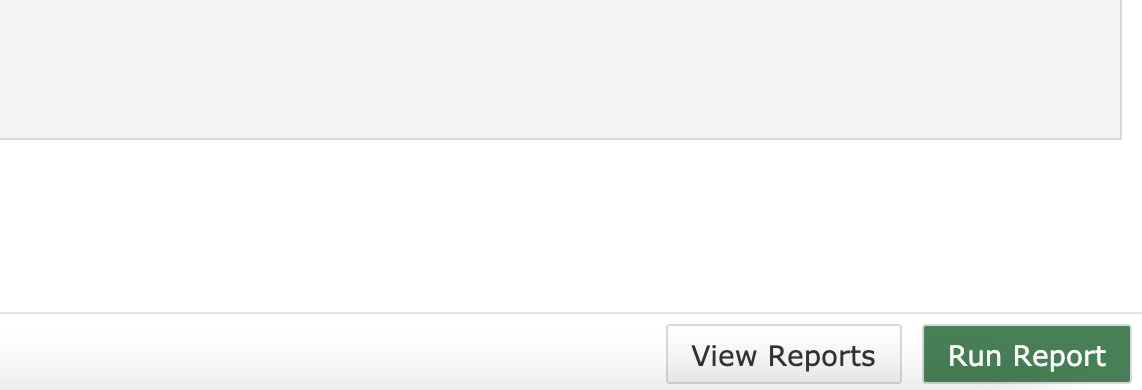
16. Click Run Report

17. Click the Notifications Bell

18. Click Report Queue

19. Click your report title to download

20. That's it. You're done.

Here's an interactive tutorial
** Best experienced in Full Screen (click the icon in the top right corner before you begin) **
https://www.iorad.com/player/1966336/Csdo-Powerschool---How-to-Print-Class-Lists
Step-by-Step Directions
From within PowerTeacher Pro, click on Reports on the
left-hand menu, then select Student Roster:

Under the Criteria tab, choose your title and select the class(es) you would like to print. Set any sort options you want, and add columns from the list provided by clicking the Add Columns button. Several Blank columns or other student information can be added to the roster list:
Under the Students tab, you can remove any students you do not want to be included:
Under the Format tab, choose the page orientation, if you want a PDF or spreadsheet and any customizations you would like:
Click the Run Report button on the bottom right corner of your screen and the report can be found under the View Reports button: